It is just a few months that I have figured out how to make fondant or the famous sugar dough that lets you create wonders on cakes. The first few trials were mainly the simple stuffs that requires not much of skill and practice. Gradually. I am finding it more interesting to play with this sugar dough. There are so many recipes and I have already tried quite a few of them. However I found this simpleMMF (Marshmallow fondant) recipe to be really simple and useful. A week ago, one of the customer asked for a fondant car on top of a chocolate cake. I made a chocolate genoise and filled it with chocolate ganache. The baking and the decorating was not too difficult as her requirements were more or less simple. But the problem was with this car topper. I could not find any detailed fondant car tutorial even. So, I started analyzing the images of fondant car toppers o the internet and came up with my own way of making it. Hope you like it:
What you need:
- Some black fondant. Keep about 200 gm with you although you might not need the whole of it. (The best way to make the black fondant is to add the color in the water while you are making the fondant and also remember use concentrated/gel based or powdered black food color for a real black fondant, not a grey looking stuff.)
- Some red fondant. You can make it in the way the black fondant is made or you can simply add red color later on with a small amount of white fondant.
- The fondant decorating tool set.
- Some silver color metallic color or luster dust.
- A size ’0′/zero brush for painting on the fondant/icing.
Where to find the necessary tools and ingredients:
Try you local stores, in many places online shops also send you home deliveries. Try amazon or ebay for safe shopping. If you are living in Bangladesh like me, then well, you do not have any choices, ask your friends and family to send the tools or try New Market as the stores there sometimes have a few tools to sell:
The process:
1. Take some black fondant, the amount depends on how big you want your car.

2. Roll and shape the fondant close to the shape of the car you want to make.

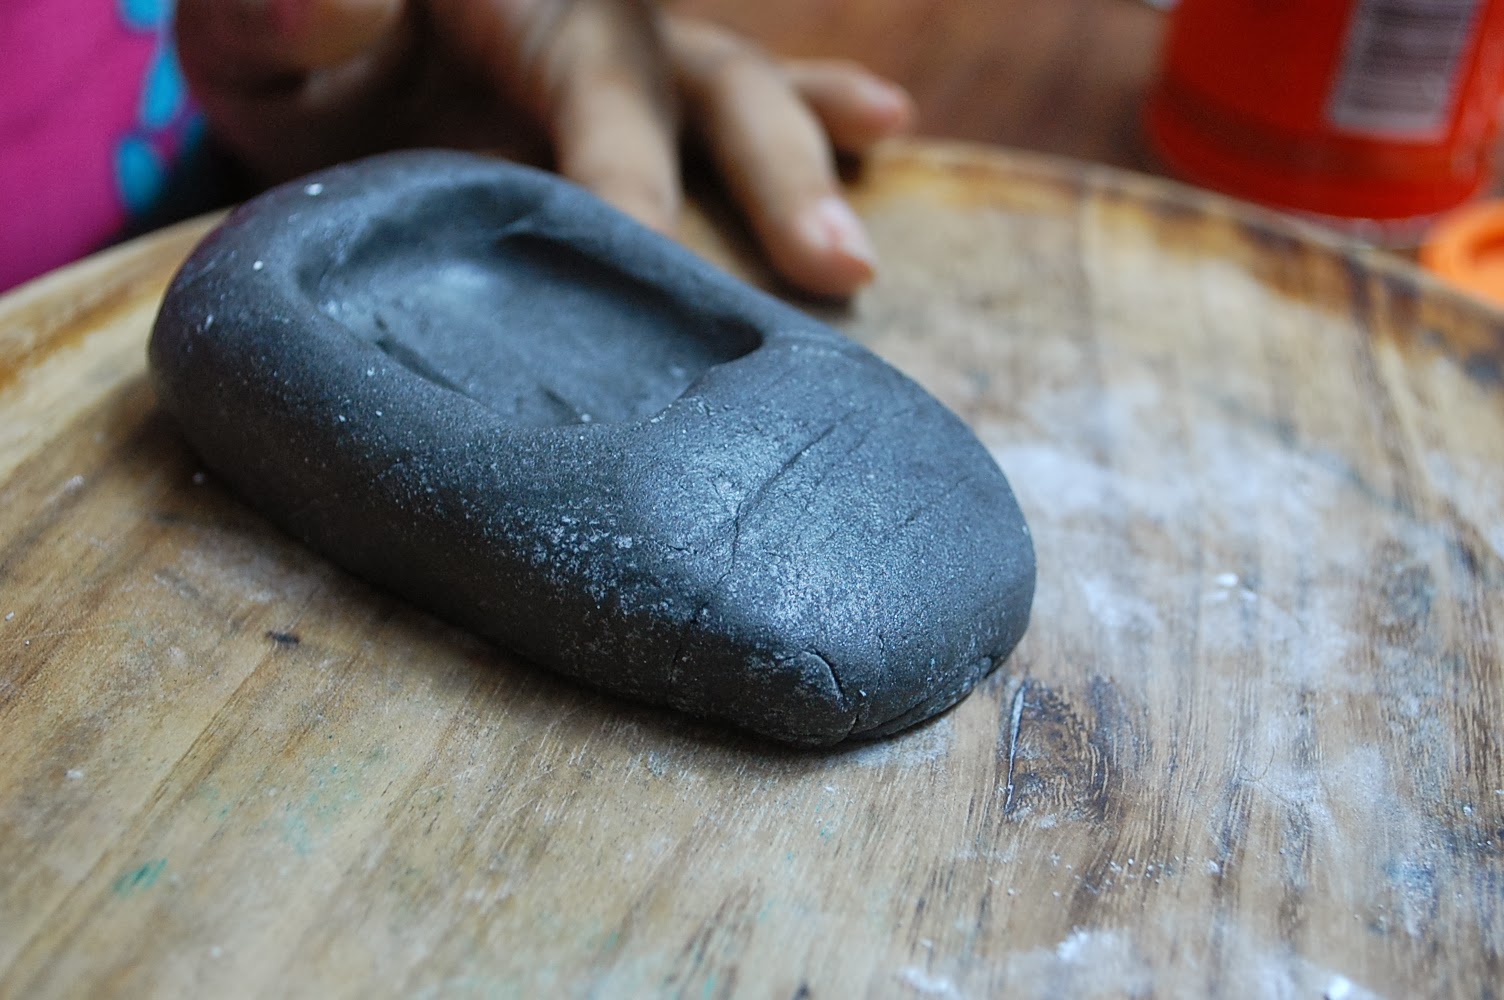
3. Make a slope on the front using the fondant palette knife.

4. Use the flower ball tool to make a space in the center for the seats and interior.

5. Make some red (you can definitely make any color) colored fondant, Remember you will use this fondant to cover the car.

6. Roll the red fondant and Cover the shape.

7. Cut the red fondant in the middle to make space where you preshaped for your interior.

8. Use something round to cut off some fondants on both side of the car so that you can put your tires.

9. Cut the tires using a round shaped cutter ( I used an O from my letter cutters). Mark the inside of the tires with a smaller round shape ( I used the end of a cream roller maker). Mark the spokes, if you want more details, you can use silver fondant or wires.


10. Make the back seats and the front seats with head rests.


.jpg)

12. Add the front window. I used a hard clear plastic shape to make the window. First I cut a long strip that would fit into the interior opening that I made and pushed it half way just ahead the front seats. Then I covered it with fondant lining and added two side view mirrors which also acts as a gluing point for the window.( Sorry, the photographer denied to take any more photos during this , so cannot share the process, but I guess you can figure out how to do that part).
.jpg)
13. The finished cake with the car on top


